


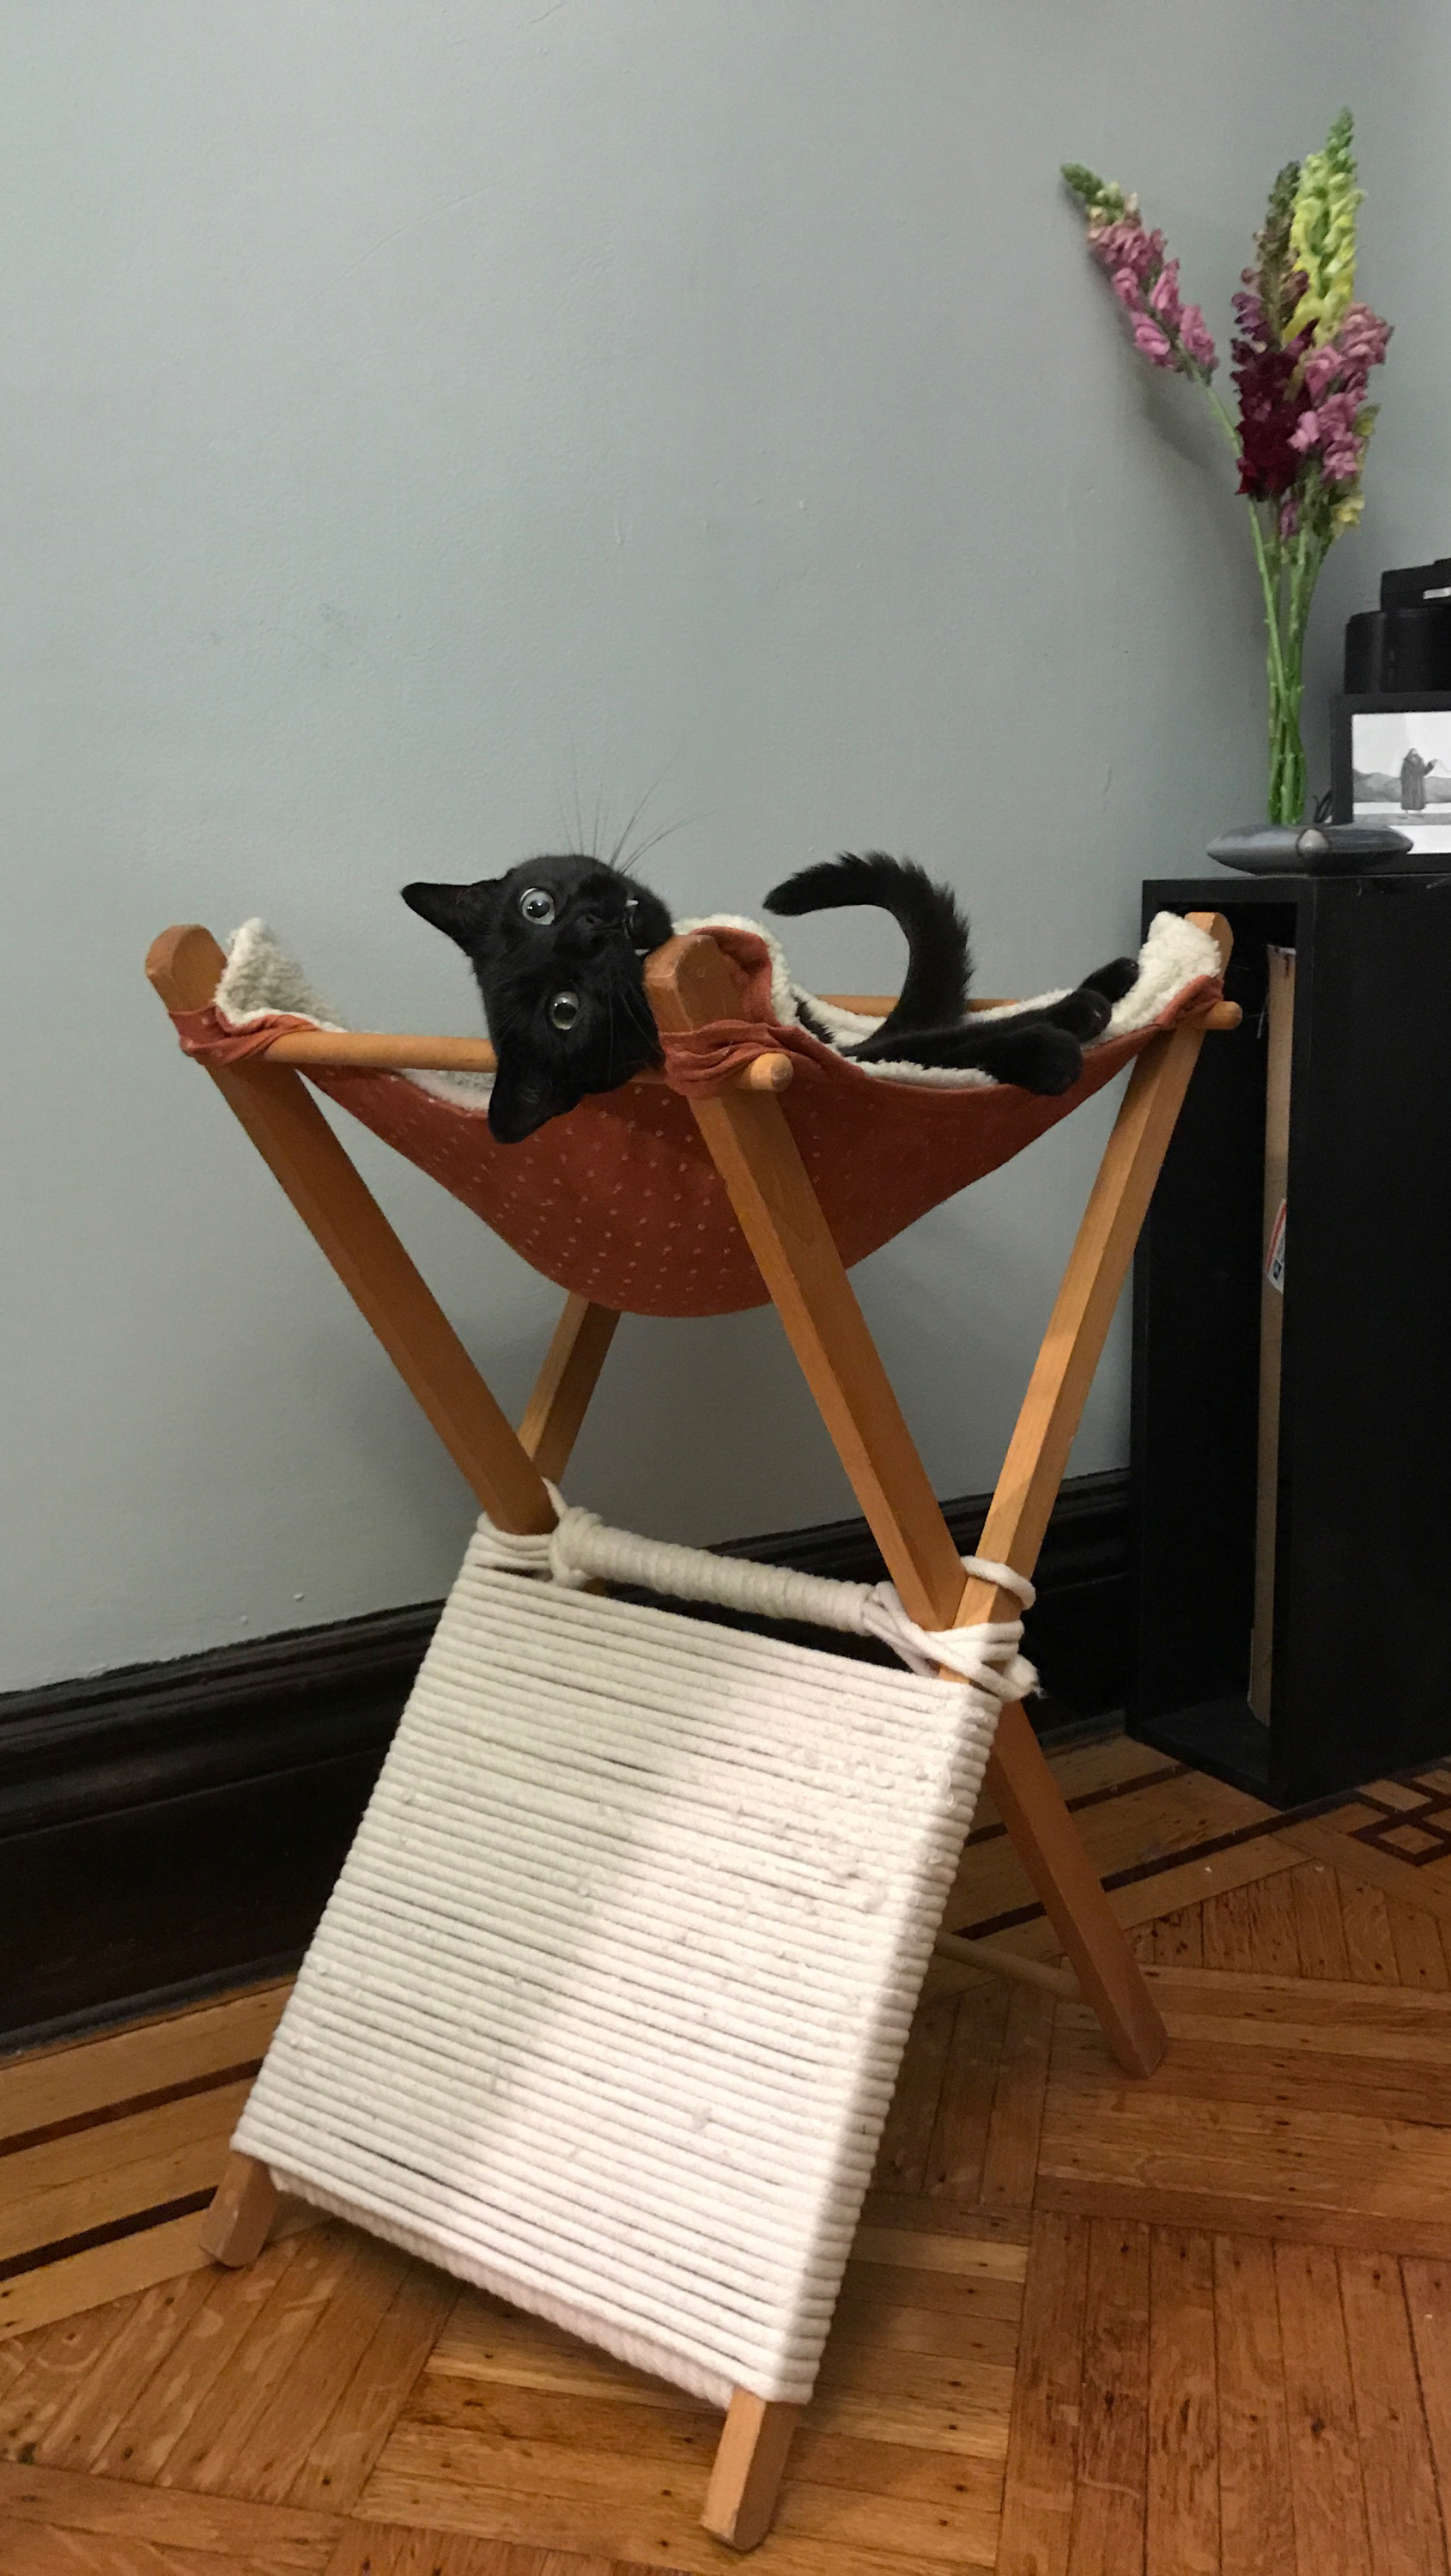
The cat needed another, cat bed… but elevated!
My husband had a nice wooden-framed hamper, but eventually the straps on the bag broke beyond repair.
And…
I had an old hand-me-down coat that I kept intending to alter, but never got around to it. (Sadly, I did not take a photo of the coat.)


Due to a lack of sisal to create the intended scratching post, there was an interim version with just the hamper frame and the hammock, which caused a dramatic slow-motion cat-tastrophy. Luckily, some repurposed cotton rope stabilized the frame, and created the intended scratching post. (Once I get more rope, or some sisal, I’ll continue wrapping the scratching panel, as originally intended, to hide the support.)

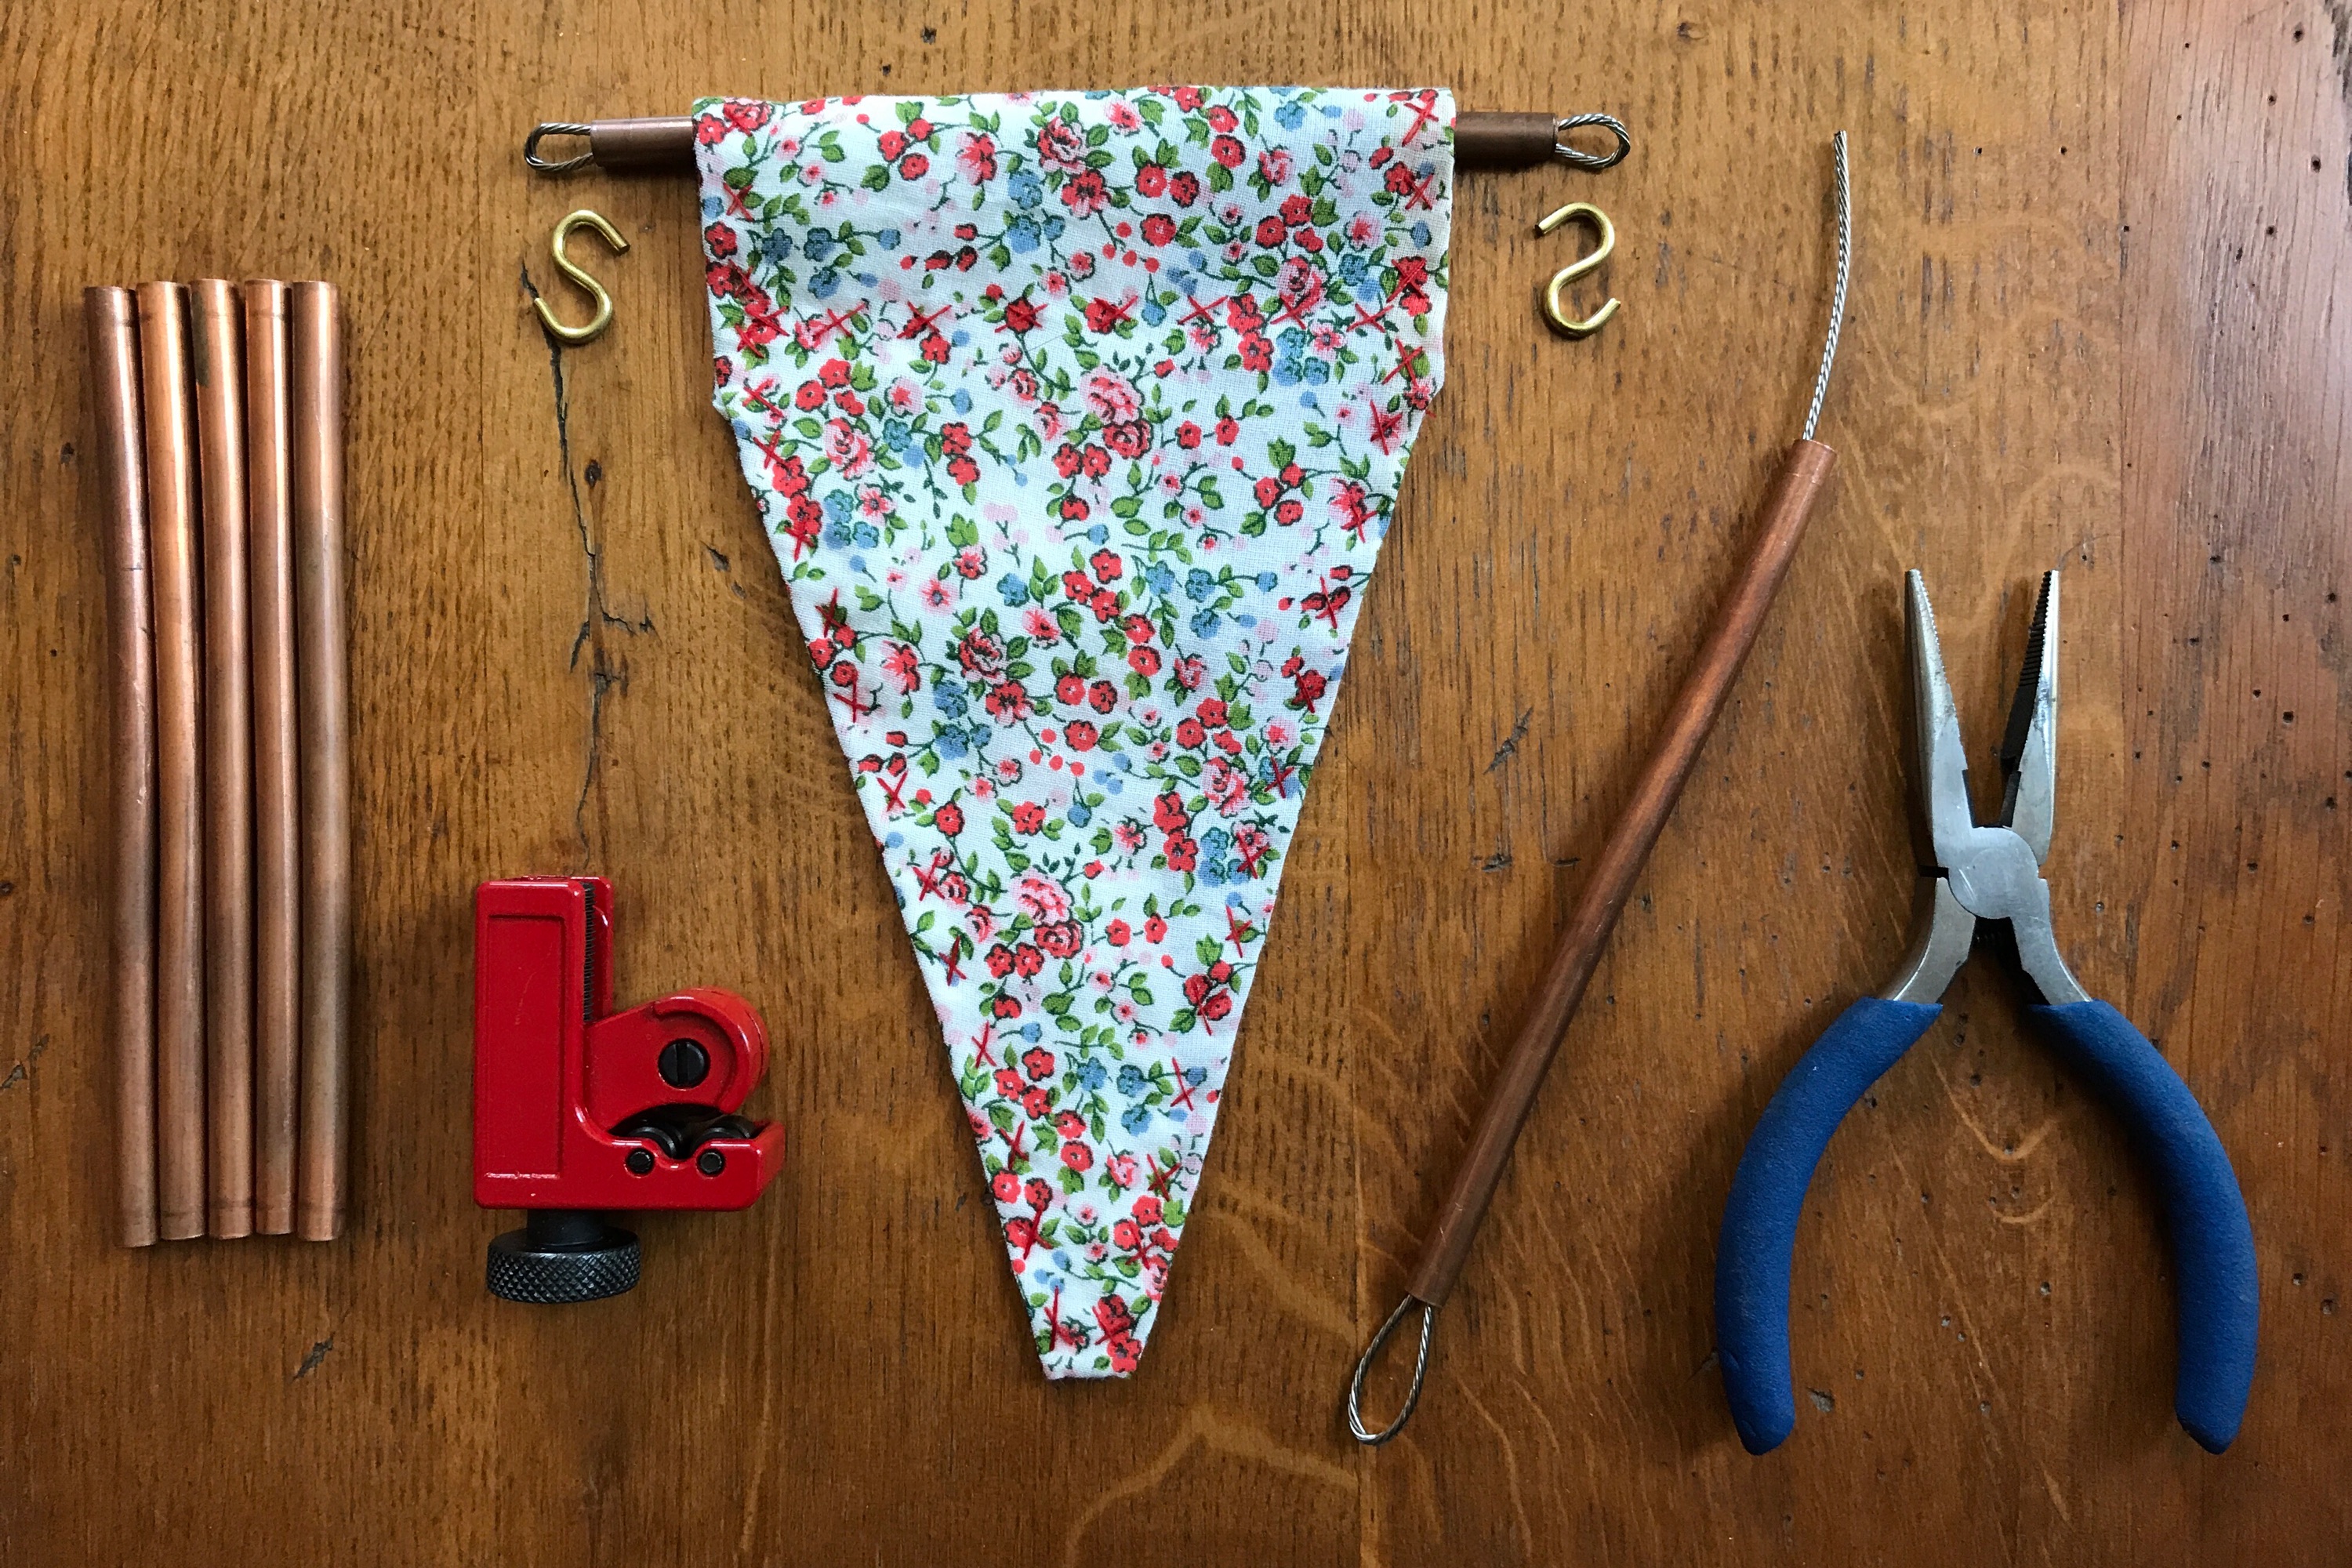
Each is the same size and shape, and hand-sewn using different stitches. Theoretically, this will remind me how to sew, and be a good use of random small scraps of fabric.

After the first couple, chopsticks weren’t doing it for me. Initially, I thought I could press the ends of a metal tubes together, punch a hole through the flat area (as is sometimes done in jewelry making) and string the tubes together with s-hooks.
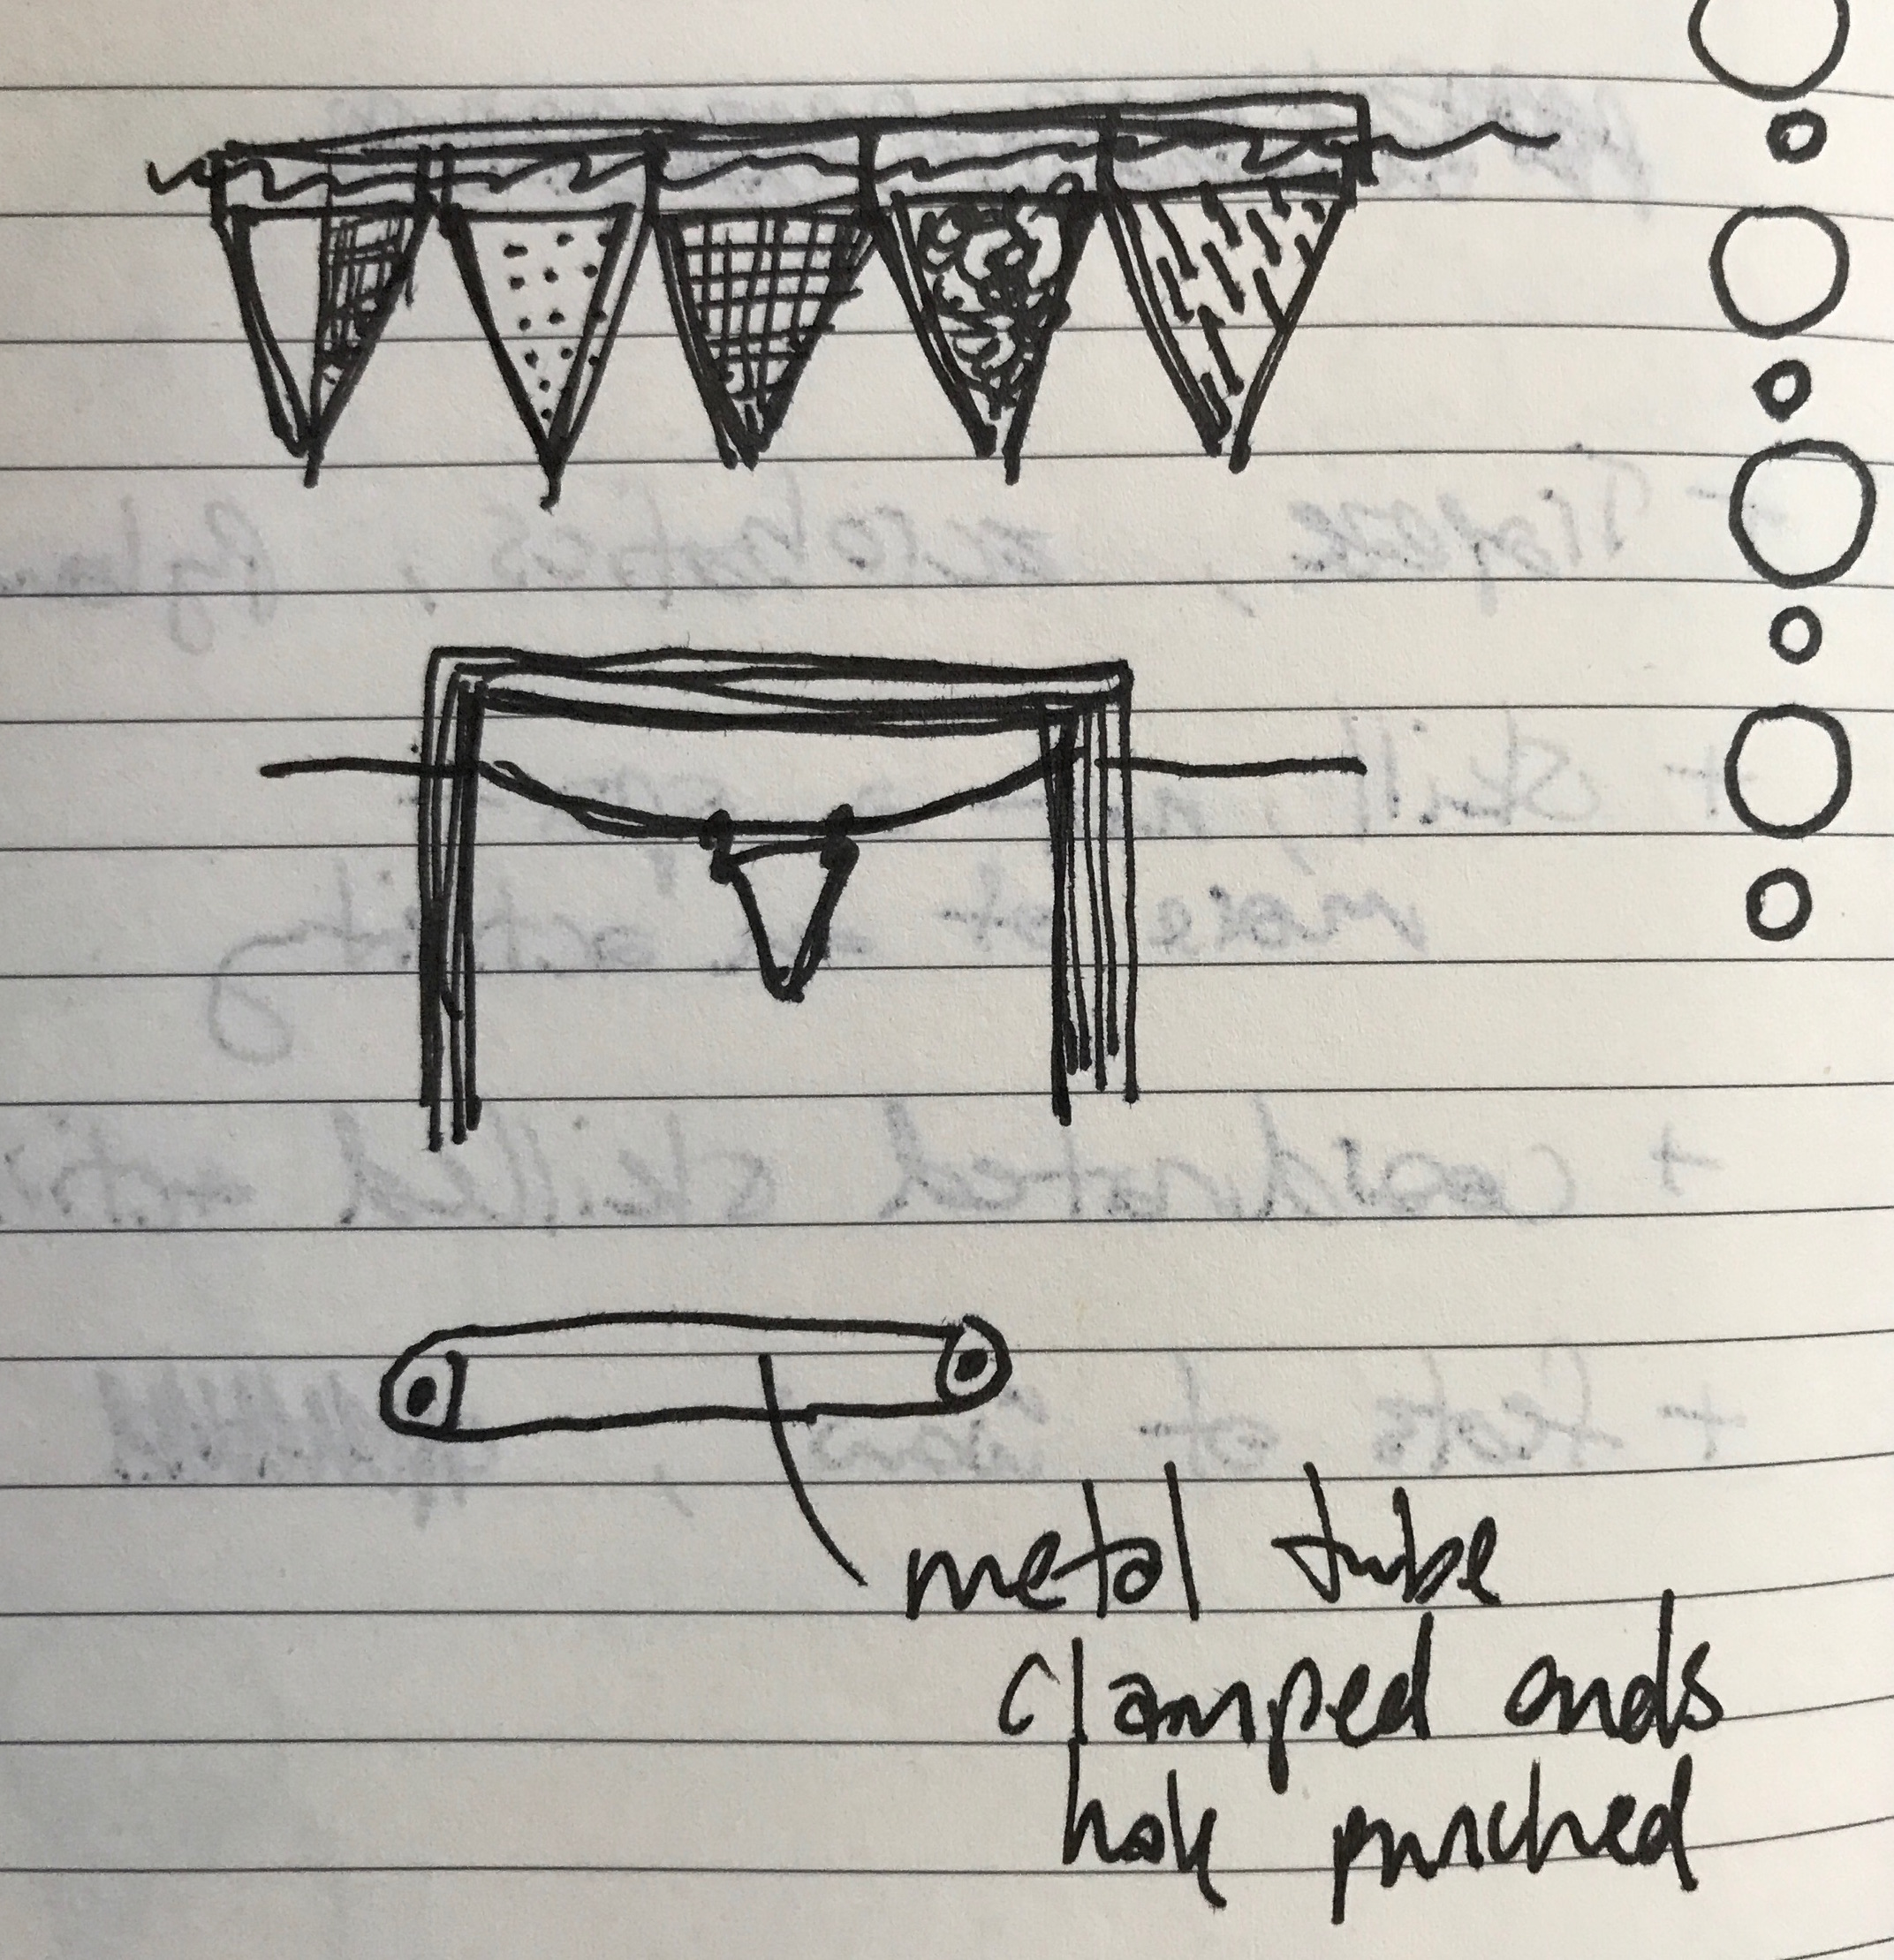
However, the tubing I bought was a little too thick for that plan. No matter—some left over wire, threaded through the cut tubes and folded over, did the trick!
Additionally, hanging them on a chain, rather than just stringing them together with the hooks, lets me replace or move them as I add, or—procrastinate, as you can see from the three that are still in pins awaiting stitches.
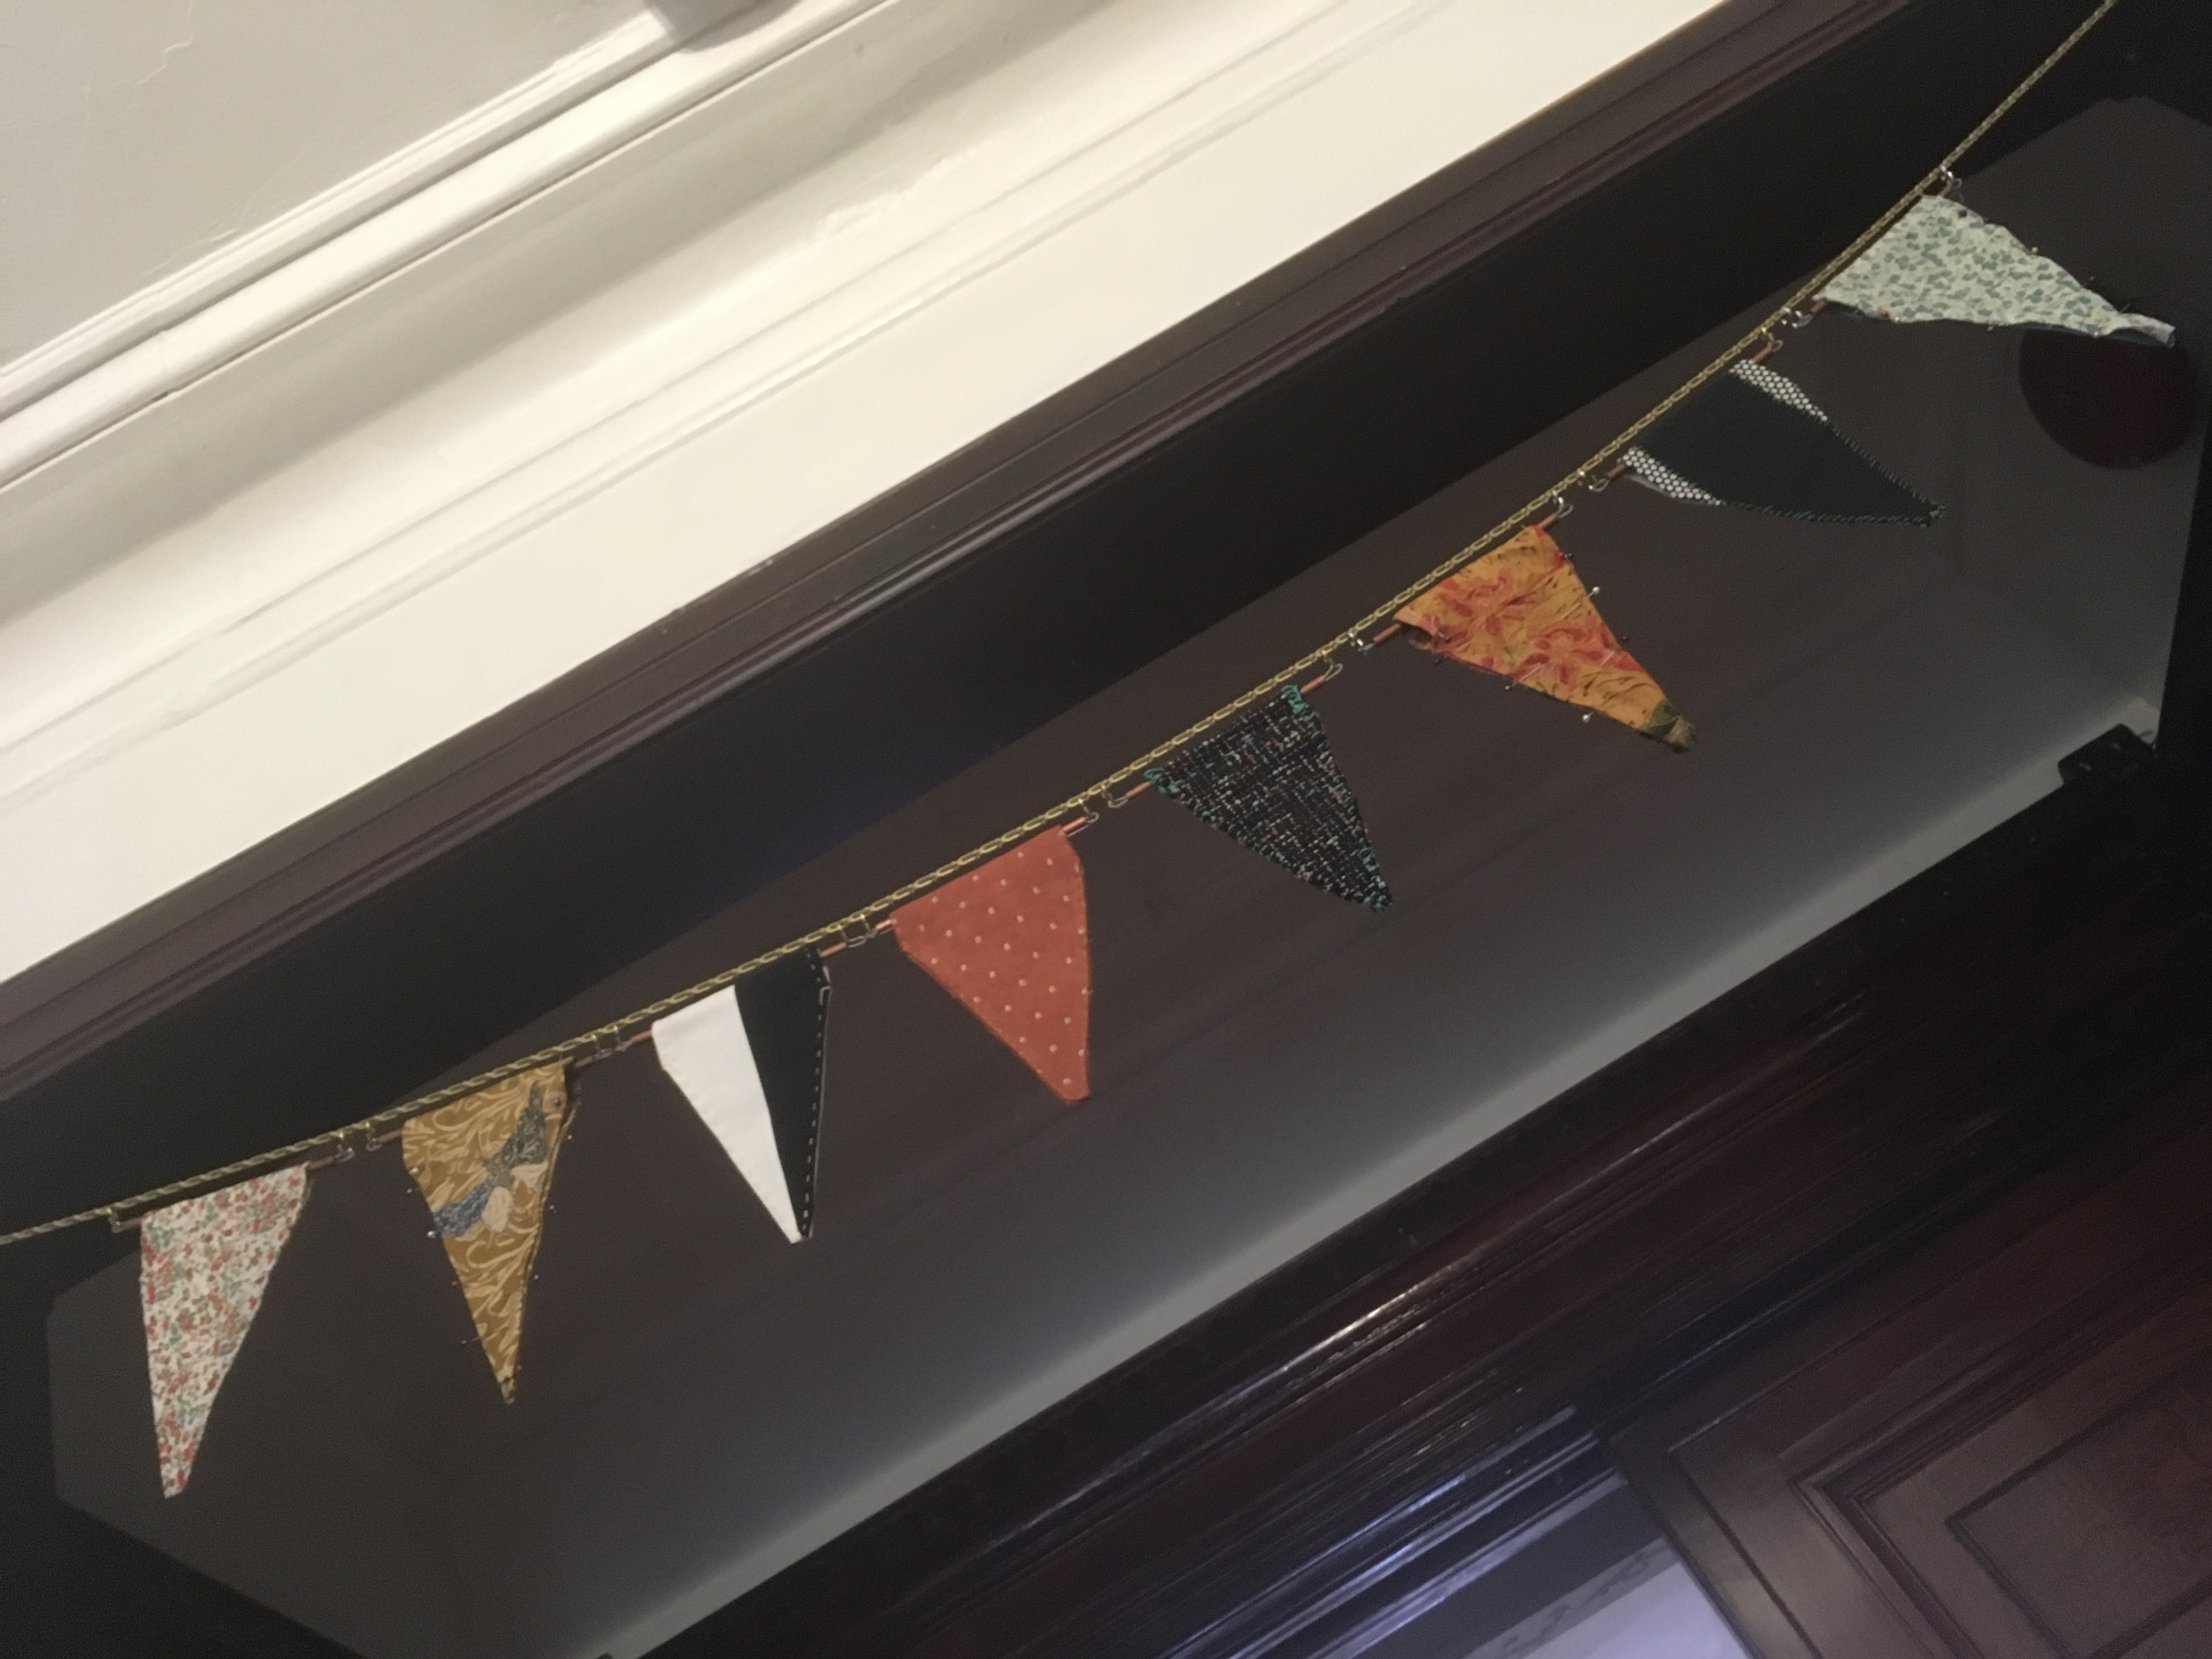
More to come!

Last year, I found a piano bench on Etsy, and thought, with a new cushion, it would be perfect fit for my keyboard. It arrived, I did made a very quick cover with a staple gun and (not enough) scrap fabric. It was useable, but not ideal.
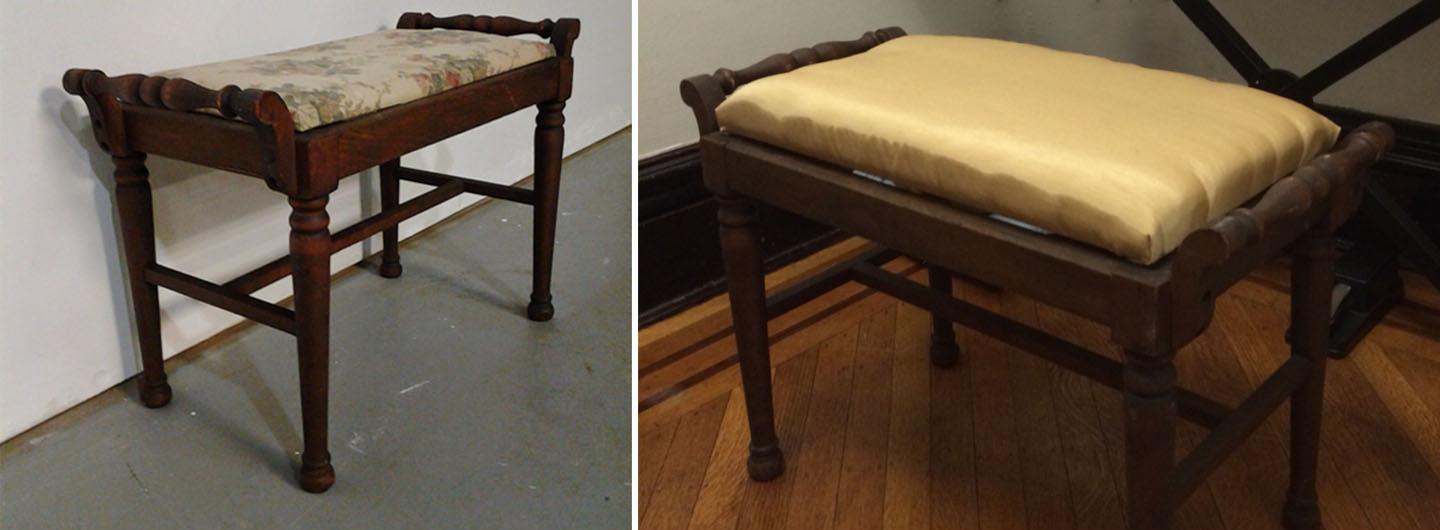
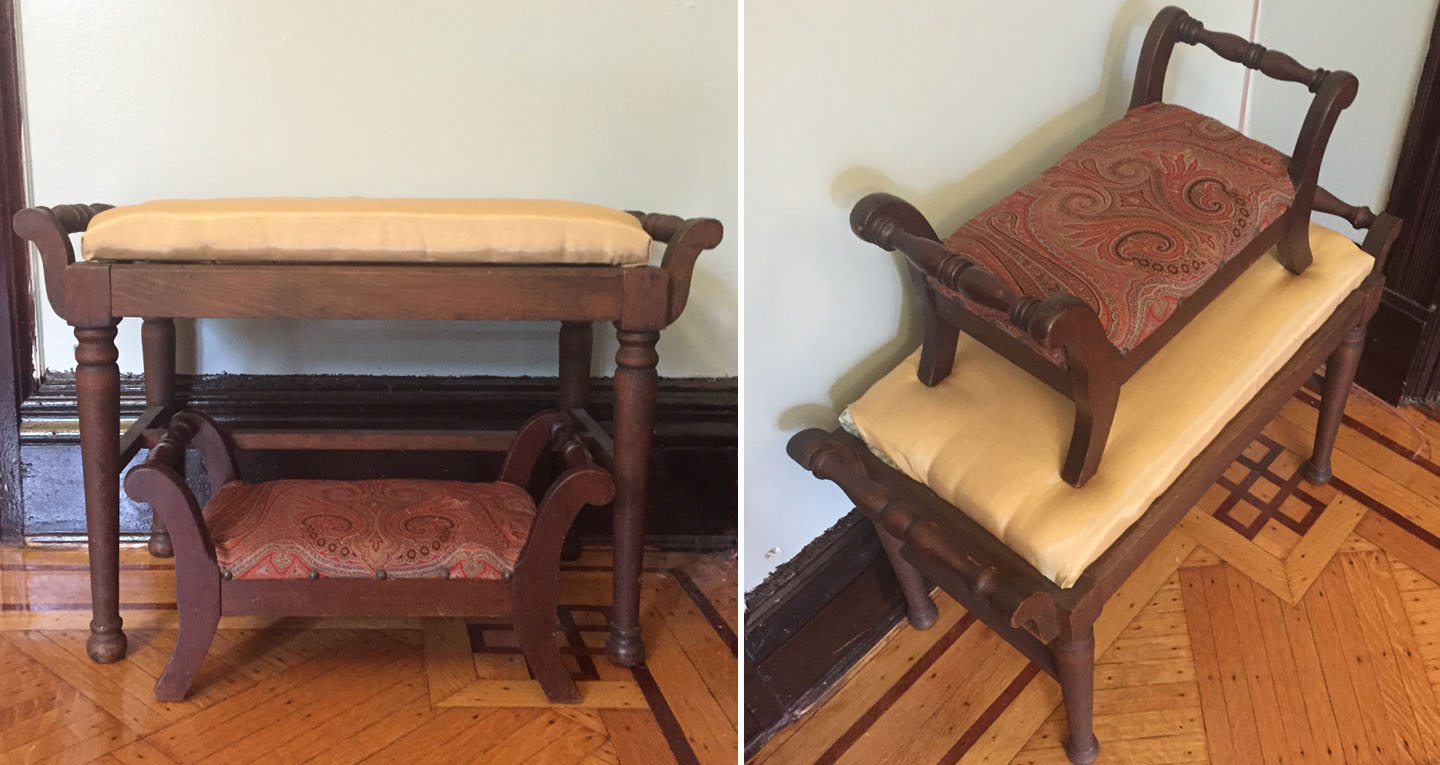
Then recently, I found an antique footstool at Brimfield Antique Market that looked like a tiny version of the piano bench! Creating a matching pair seemed like a good reason to take a trip to Joe’s Fabric, and to take a second (more thoroughly researched) pass at learning how to reupholster.
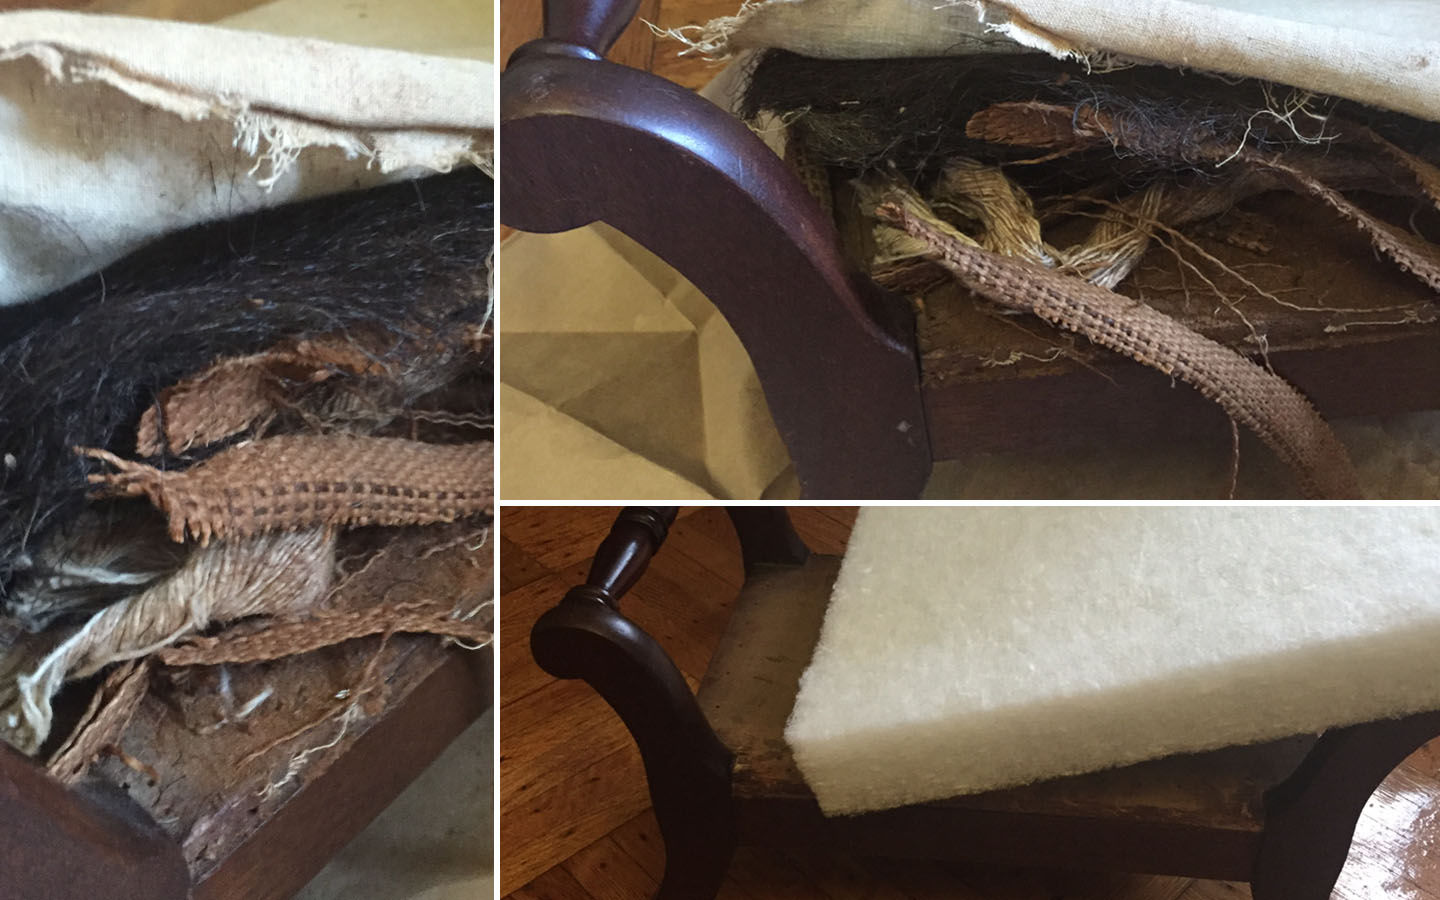
The footstool had many layers of stuffing, including a layer of horsehair, that seemed like a form of craftsmanship I’m not prepared to attempt to recreate. It was sad to replace all this with a polyester cushion, but at least now the cat is less interested in destroying it…
Many upholstery tacks later, they match!
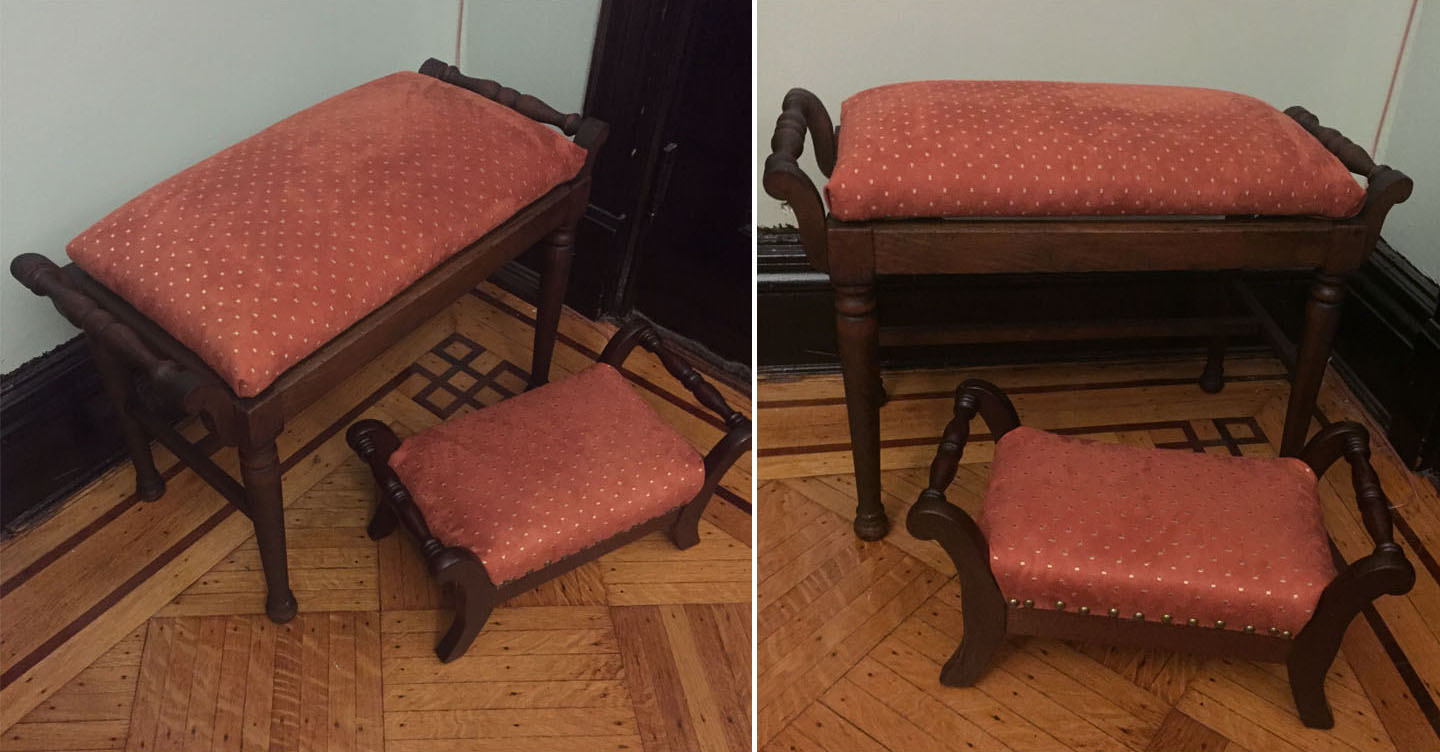
Next time, I’ll use a layer an extra layer of fabric to smooth out the edges more, and probably a stiffer stuffing, but for now I think they’ll do.
